
Create a community
Create a community from the social or community area, then set its name, purpose and access settings.
Watch it step by step
Click the highlighted area to move through the task, or watch the video when one is available. Newer flows may use a labeled walkthrough instead of a live photo.
Step 1 of 12
1. Open Communities
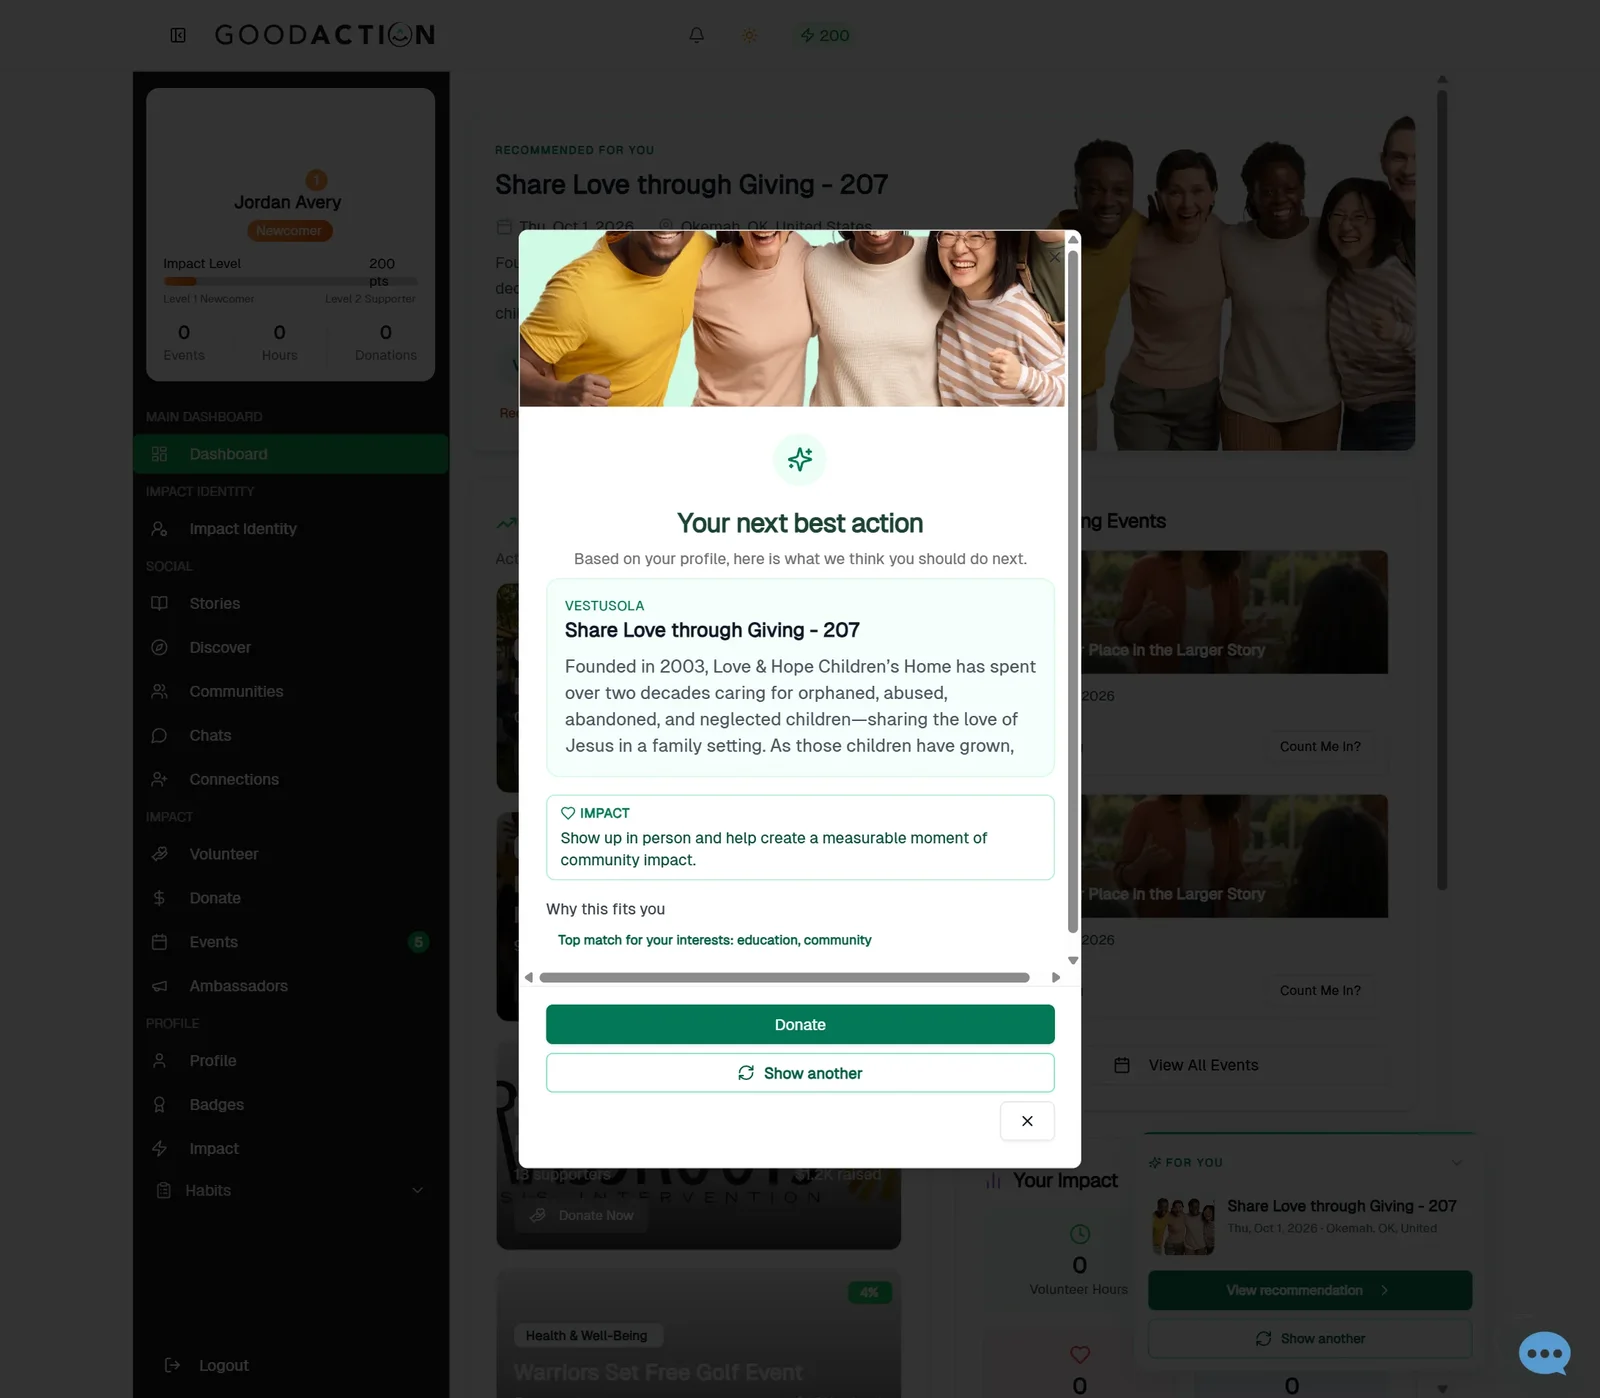
In the sidebar, click Communities.
Done when: Your community is live, and pending invitations show under Invite Members → Manage.
Create a community
Overview
Create a community from the social or community area, then set its name, purpose and access settings.
Where to find it
Open Social profile > Communities, select the community, and use the relevant Feed, Members, Events, Resources, Courses, Blog, Premium or Settings area. To create a community, choose Create Community from the Communities area.
How it works
- Enter the required Community Name and Description.
- Add an optional cover image; the page recommends a 1200 by 675 image and accepts PNG, JPG or GIF up to the displayed limit.
- Choose interests that match the mission.
- Select Public or Invite Only and create the community. Paid is enabled after creation by activating Creator Access and then changing Community Settings.
Important details
Community visibility, membership permission, owner permission and Creator Access are separate checks. A person may be able to view a resource without being allowed to create one. Paid membership does not by itself grant creator tools.
If something does not look right
- Confirm the signed-in profile and current workspace shown in the page header.
- Capture the page address, time and exact visible error.
- Do not include passwords, API keys, bank details or full card data.
- Ask GoodAction Support when the expected control remains unavailable or the saved result differs from this article.