
Create paid tickets
Add ticket options and prices only after the event host has the required payment setup.
Watch it step by step
Click the highlighted area to move through the task, or watch the video when one is available. Newer flows may use a labeled walkthrough instead of a live photo.
Step 1 of 5
1. Create a basic event
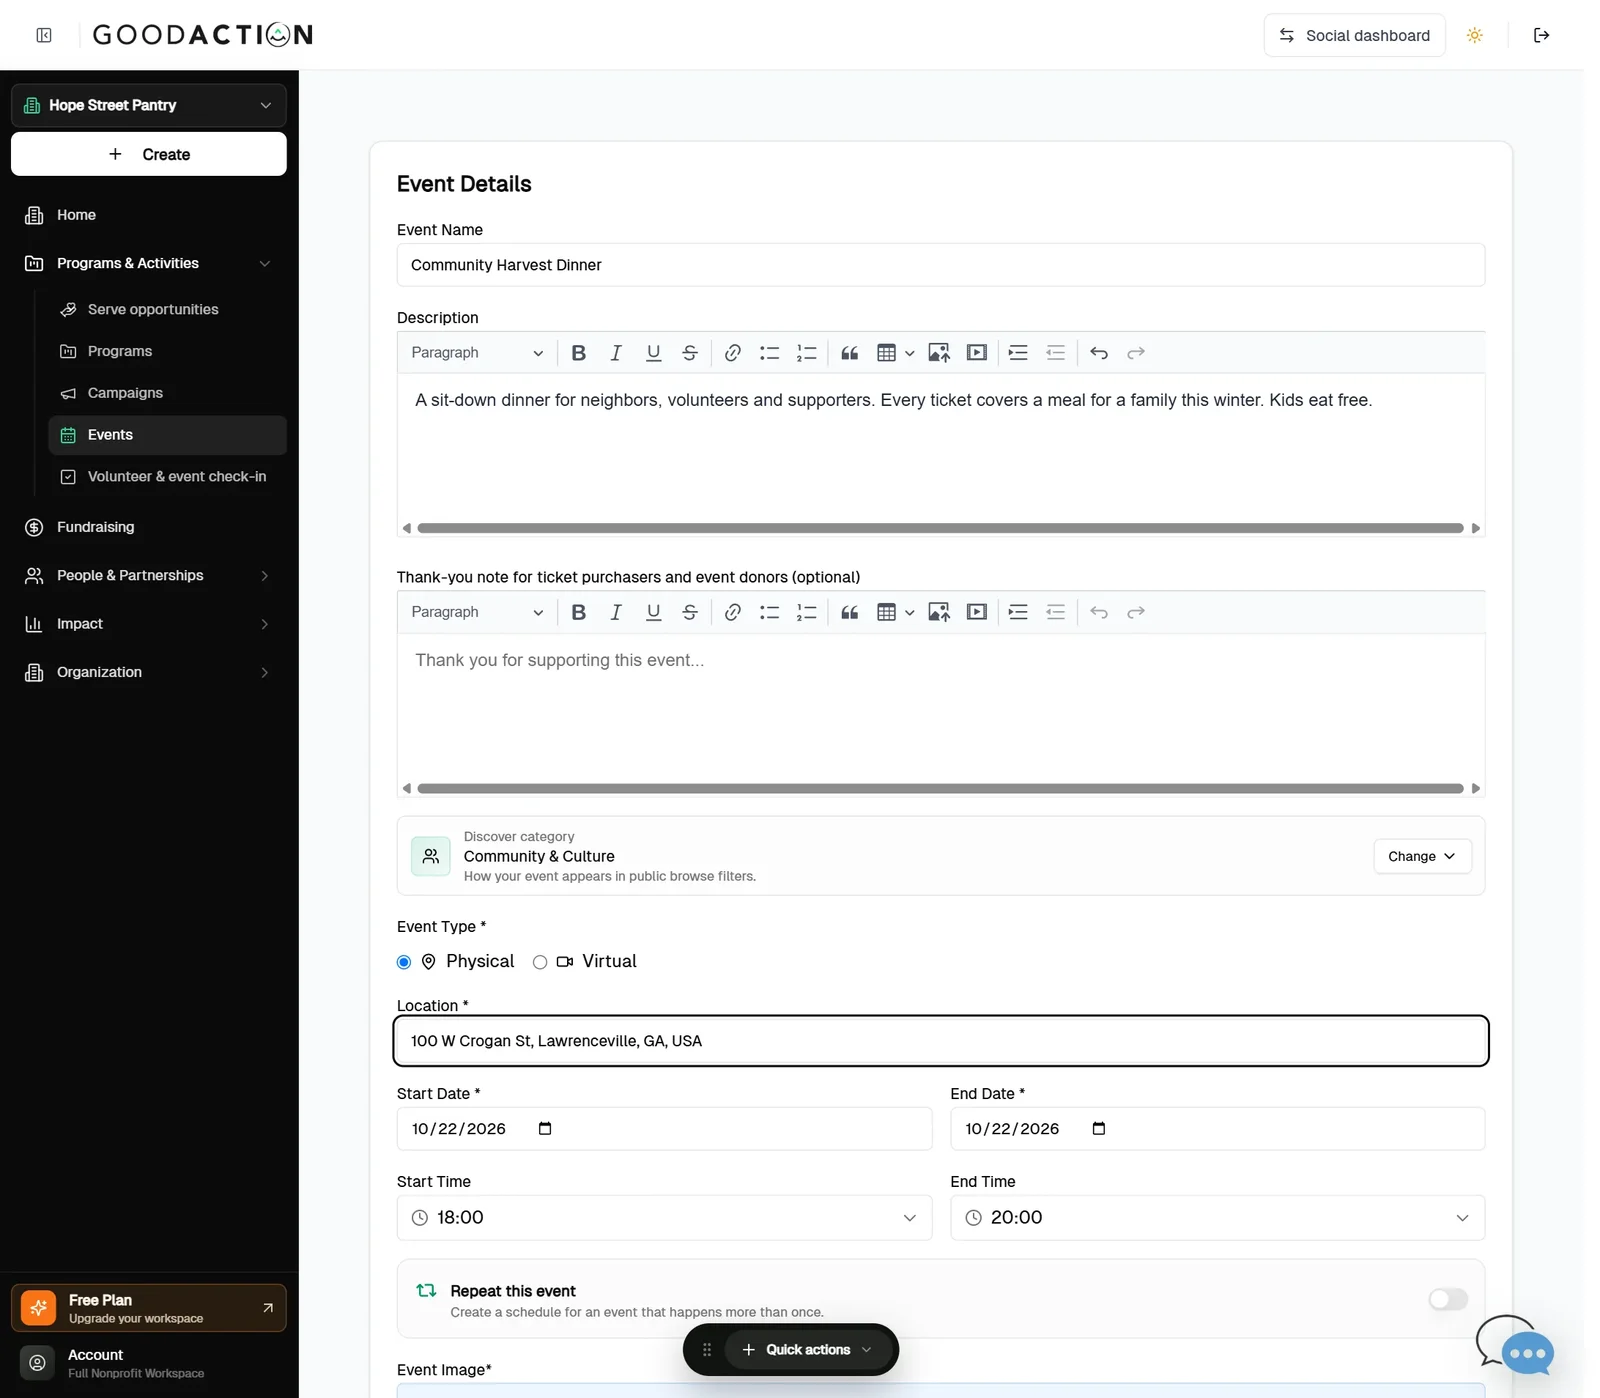
Choose Basic Event, then add the name, description, location, date and times.
Done when: The event page sells tickets, and purchases appear under Ticket Purchases and Attendees.
Create paid tickets
Overview
Add ticket options and prices only after the event host has the required payment setup.
Where to find it
Social hosts open Events > Create New Event and choose Personal or Group. Organization hosts open Nonprofit workspace > Programs & Activities > Events > Create Event. Company Serve admins do not create nonprofit events here; they add a partner’s published event from Enterprise > Serve > Opportunities.
How it works
- Choose a Basic Event; tickets are configured for Basic events, while Donation and Volunteer + Donation use donation settings.
- Confirm the event host is payment-ready.
- Add a ticket name, a price of zero or more, and a quantity of at least one.
- Review sales availability and the attendee checkout before publishing.
Important details
Organization event types are Basic Event, Donation Event, Volunteer Event and Volunteer + Donation. Tickets belong to the Basic event workflow. Donation-capable events require the host's payment setup; volunteer events require valid dates, shifts, capacity and at least one role. Registration must close no later than the event ends.
If something does not look right
- Confirm the signed-in profile and current workspace shown in the page header.
- Capture the page address, time and exact visible error.
- Do not include passwords, API keys, bank details or full card data.
- Ask GoodAction Support when the expected control remains unavailable or the saved result differs from this article.