
Create a network
Create a network when multiple related communities need shared structure, administration or coordinated participation.
Watch it step by step
Click the highlighted area to move through the task, or watch the video when one is available. Newer flows may use a labeled walkthrough instead of a live photo.
Step 1 of 17
1. Launch a network
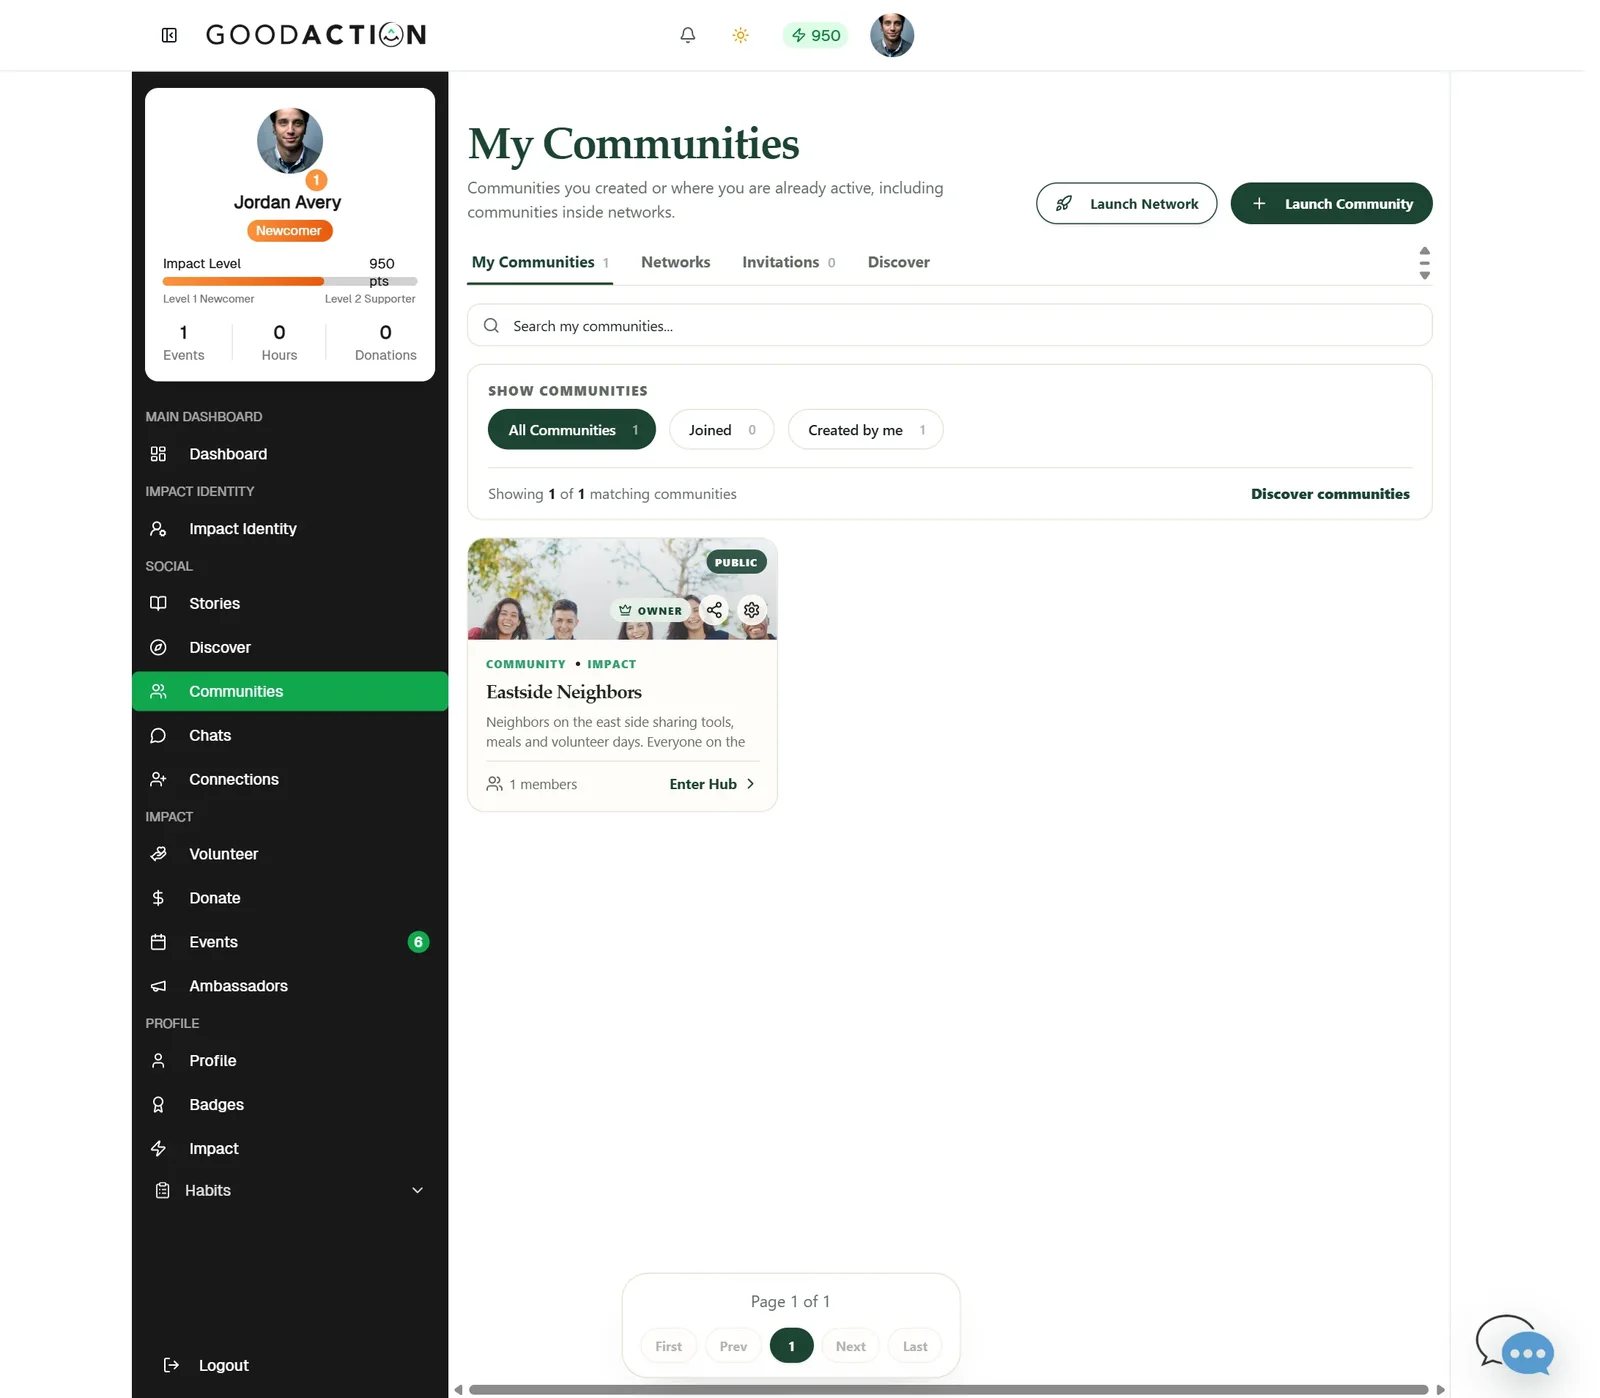
Open Communities and click Launch Network.
Done when: Your network workspace opens with a launch checklist, and your public portal is live at goodaction.com/o/your-network.
Create a network
Overview
Create a network when multiple related communities need shared structure, administration or coordinated participation.
Where to find it
Open Social profile > Communities and use the Networks area. Network creation starts in Create your Network, which guides you through Choose plan, Configure and Confirm.
How it works
- Choose a Network only when several communities need one brand, dashboard and billing lifecycle; a single community has its own creator option.
- In Create your Network, choose the plan and billing interval shown at checkout.
- Configure the network identity and ownership details.
- Review the group limit, Creator Access automation and billing terms before Confirm and checkout.
Important details
A Network brings several related communities under one brand, dashboard and plan. Current prices, group limits and billing intervals are shown at checkout, so review them there before you pay.
If something does not look right
- Confirm the signed-in profile and current workspace shown in the page header.
- Capture the page address, time and exact visible error.
- Do not include passwords, API keys, bank details or full card data.
- Ask GoodAction Support when the expected control remains unavailable or the saved result differs from this article.