
Verify an organization
Use the organization verification process when it is available and provide truthful supporting information.
Watch it step by step
Click the highlighted area to move through the task, or watch the video when one is available. Newer flows may use a labeled walkthrough instead of a live photo.
Step 1 of 3
1. Open Set up payments
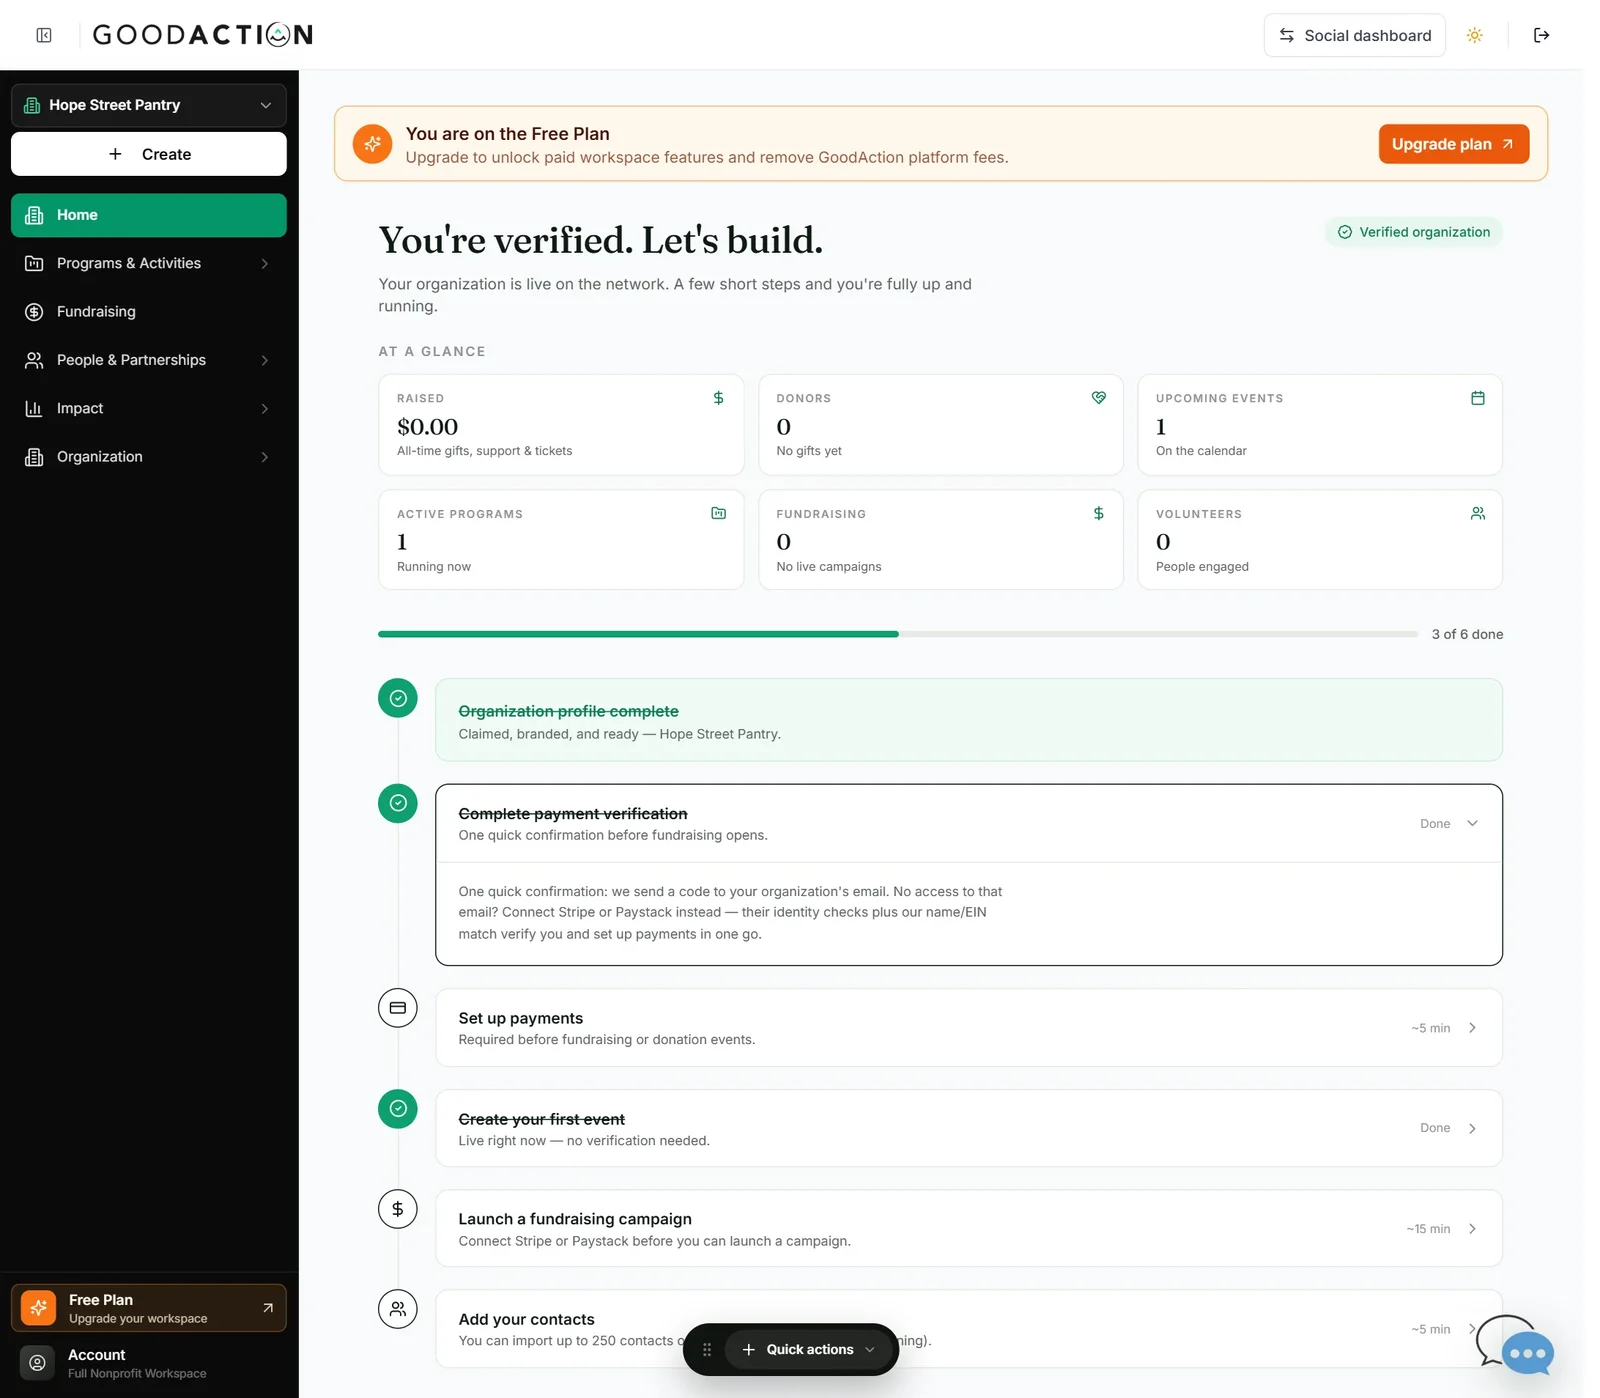
On Home, open Set up payments in the checklist.
Done when: Home shows “Verified organization” and Set up payments shows Stripe Active, details complete and payouts enabled.
Verify an organization
Overview
Use the organization verification process when it is available and provide truthful supporting information.
Where to find it
Open the nonprofit workspace. Organization profile, Team, Invitations, Payments, Platform billing, API Integrations, Donation Page and Receipt Templates are available from Organization > Settings when your organization role permits them.
How it works
- Confirm the current profile or organization in the page header.
- Open the named setup or settings area and review the existing values.
- Complete the required fields without sharing credentials or private payment information.
- Save once and verify the page displays the new status.
Important details
Controls are shown according to the selected workspace, role, plan and record state. If a control is missing, confirm those four conditions before treating it as a platform fault.
If something does not look right
- Confirm the signed-in profile and current workspace shown in the page header.
- Capture the page address, time and exact visible error.
- Do not include passwords, API keys, bank details or full card data.
- Ask GoodAction Support when the expected control remains unavailable or the saved result differs from this article.